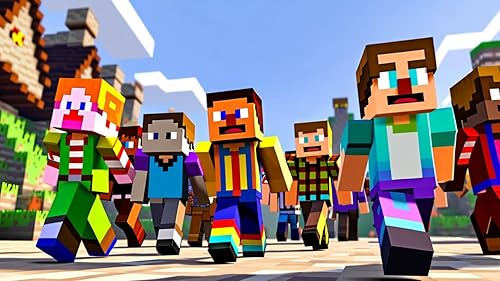
How to Change Your Minecraft Skin: The Complete Guide
May 19, 2025
Read: How to Level Up Your Minecraft Skills: A Beginner’s Guide to Becoming a Minecraft Pro
Read: Minecraft A-Z: The Ultimate 2025 Guide for Beginners
Read: Minecraft vs Roblox: Which One is Better for Learning New Coding Skills?
Read: What is Minecraft Coding? (with Fun Coding Projects!)
Read: How to Change Your Minecraft Username
Read: Minecraft Parental Controls: A Comprehensive Guide for Parents
One of the most fun and personal touches you can add to your Minecraft experience is changing your skin. If you’re tired of wandering around your worlds as the default Steve or Alex character, switching to a new skin—whether it's a dragon, a knight, your favorite anime character, or something entirely unique—can make the game feel fresh again.
Whether you’re playing on Java Edition for PC or Bedrock Edition on mobile, console, or Windows, this guide will walk you through everything you need to know to change your Minecraft skin, find great ones, or even design your own.
What Is a Minecraft Skin?
Before we dive into the steps, let’s cover the basics.
A Minecraft skin is essentially a 2D image that wraps around your character in the game, creating a 3D appearance. It determines how your avatar looks—from the outfit and colors down to facial features, hairstyles, and accessories.
There are two default skins in Minecraft:
Steve, who has broader arms
Alex, who has slightly thinner arms
When you switch to a custom skin, you're replacing that default texture with your own design. You don’t need any mods or special tools—just a skin image file (usually a .png file) and a few minutes.
How to Change Your Skin in Minecraft: Java Edition (PC/Mac)
Java Edition gives you the most flexibility when it comes to uploading custom skins. Here's how you can switch things up.
Step 1: Choose a New Skin
There are thousands of free Minecraft skins available online. Some players even create and share their own designs daily. You can search for skins by theme, character, or popularity.
Here are a few popular websites where you can browse and download skins safely:
MinecraftSkins.com (Skindex) — Great for browsing and creating skins.
NameMC — Shows trending and recently used skins.
Planet Minecraft — Offers skins and community-created packs.
When you find one you like, click "Download" to save the skin image file (PNG format) to your computer. It might be named something like skin.png—you can rename it if you'd like, but it’s not necessary.
Step 2: Log In to Your Minecraft Profile
Next, you’ll need to upload the skin through the official Minecraft website:
Go to www.minecraft.net.
Click Log In (top right corner).
Sign in using your Microsoft account (or Mojang account, if your profile hasn't migrated yet).
Once logged in, go to the Profile section.
Step 3: Upload the Skin
Inside your profile dashboard, you’ll see an area dedicated to your skin.
Click the “Skin” tab.
Choose your model type:
Classic (Steve) – Broad arms
Slim (Alex) – Narrow arms
Click “Select a file” or “Browse” and upload the PNG file you downloaded earlier.
Hit “Upload” or “Save”.
That’s it. The next time you start Minecraft Java Edition, your character will be wearing the new skin. If you’re already in-game, you may need to quit to the main menu or restart the game to see the changes.
How to Change Your Skin in Minecraft: Bedrock Edition
If you're playing Minecraft on mobile (Android or iOS), console (Xbox, PlayStation, Switch), or Windows 10/11 (through the Microsoft Store), you're using the Bedrock Edition. This version has a slightly different process for changing skins, but it’s just as easy.
Step 1: Open Minecraft
Open the game and wait for it to load to the main menu.
Step 2: Access the Dressing Room
Click the “Dressing Room” button or the hanger icon next to your character.
You’ll be taken to a screen where you can manage your current skins and outfits.
Step 3: Choose or Upload a New Skin
You can either select:
A free/default skin
A premium skin from the Minecraft Marketplace
Or upload your own custom skin
To upload your own:
Click Edit Character.
Navigate to the “Owned” tab.
Choose Import or Choose New Skin.
Find the PNG file you want to use on your device.
Select either Classic or Slim, depending on the arm style.
Click confirm or apply.
Your new skin will be immediately visible in the character preview and applied in-game.
How to Create Your Own Minecraft Skin
While downloading skins is fun, making your own gives you full creative control. You don’t need advanced art skills—just a bit of patience and a simple editor.
Online Skin Editors You Can Try:
Skindex Editor – A beginner-friendly editor with a live preview.
NovaSkin – More powerful, with layers and advanced tools.
Here’s what to do:
Open the editor of your choice.
Start with a blank template or edit an existing skin.
Use the drawing tools to customize hair, clothing, face, accessories, and more.
When you're satisfied, download the PNG file.
Upload it to Minecraft following the instructions above.
You can also revisit your custom skin later and make tweaks without starting from scratch.
Frequently Asked Questions
Can I use the same skin in both Java and Bedrock?
Yes, you can—just make sure to upload the same PNG file to both platforms. The interface is different, but the skin format is the same.
Will other players see my new skin?
Yes. In multiplayer mode, everyone will see your custom skin (assuming you have a legitimate Minecraft account and they are connected online). In single-player, only you will see it.
What if my skin doesn’t show up right away?
Sometimes Minecraft takes a moment to sync your profile changes. Try logging out and back in, or restarting the game.
A Few Fun Ideas for Minecraft Skins
If you’re stuck choosing a look, here are a few popular themes to explore:
Pop culture characters – Spider-Man, Naruto, Harry Potter, etc.
Fantasy & roleplay – Elves, knights, pirates, mages.
Holiday skins – Halloween costumes, Santa Claus, etc.
Funny skins – Walking hot dog, robot llama, pixelated grandma.
Minimalist or aesthetic designs – Pastel tones, cottagecore, cyberpunk.
You can even make a skin that resembles your real-life appearance—or a completely original one that fits a roleplay story or multiplayer server theme.
Final Thoughts
Changing your Minecraft skin is one of the easiest ways to inject a little creativity and individuality into your game. Whether you're showing off a new design in multiplayer or just want your character to better reflect your personality, switching skins is simple—and the possibilities are endless.
Take a few minutes to try it out, explore your options, or design something completely original. It’s a small change that can make a big difference in how you experience Minecraft.
And hey, if you mess it up? No problem. You can always switch back or try something new.
Read: Simple Minecraft Mod Creation Guide for Beginners: How to Make Your First Mod
Read: Fun with AI in Minecraft: What Kids and Parents Can Do Together
Read: A Complete Minecraft Guide for Kids Aged 8-13
Read: FAQ in Minecraft: Parents' Answers to Kids' Common Questions in 2025
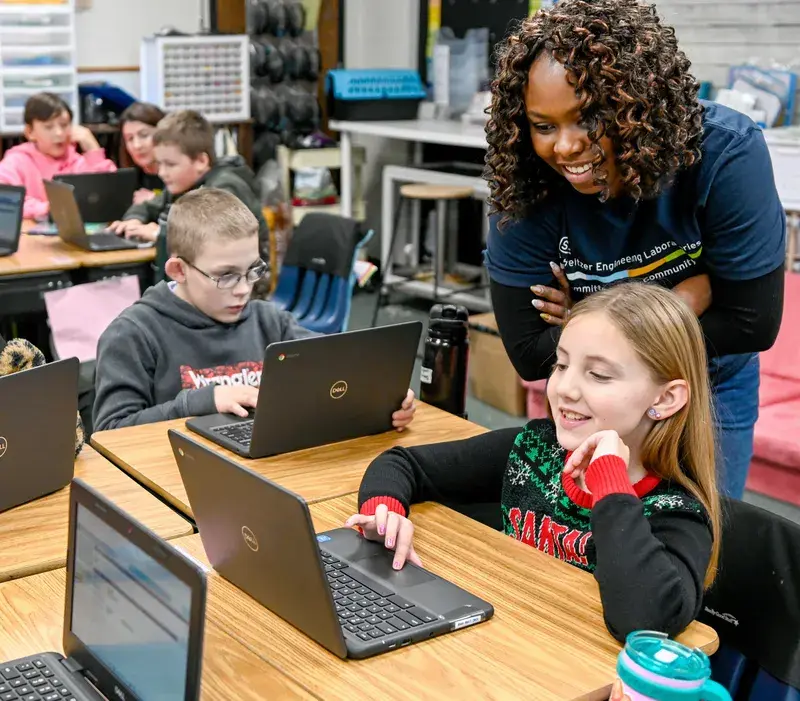
Pinecone Coding Academy's Kids Coding Classes and Camps
At Pinecone Coding Academy, we are passionate about making coding accessible and enjoyable for kids aged 8-17. Our program is designed to inspire and equip young learners with the skills they need to thrive in the digital world.
Click here to discover a coding class that matches your teen's or child's interests.
What We Offer:
Engaging Curriculum: Our courses introduce students to popular programming languages like Python, JavaScript, and HTML/CSS, laying a strong foundation for future learning.
Hands-On Projects: Students participate in project-based learning, creating real applications that they can showcase, from interactive games to personal websites.
Mentorship and Support: Our experienced instructors provide guidance, helping students navigate challenges and discover their coding potential.
Community Connection: By joining Pinecone, students become part of a vibrant community of peers, fostering collaboration and friendship as they learn.
More blogs