How to Make Roblox Games: A Complete Step-by-Step Guide
Jun 12, 2025
Read: Beginner's Roblox Guide for Kids: How to Get Started with the Ultimate Game Creation Platform
Read: How to Enhance Your Roblox Skills: A Beginner’s Guide to Mastering Roblox Game Development
Read: Essential Skills Kids Learn from Roblox: A Fun and Educational Gaming Platform
Read: 10 Tips to Become a Roblox Expert This Summer
Read: What to Do in 2025 If Your Kids Love Minecraft or Roblox: Ultimate Guide for Parents
Creating games on Roblox has become one of the most accessible and rewarding ways to enter the world of game development. With millions of players engaging daily and a thriving developer community, Roblox offers the tools and resources to turn your creative ideas into interactive experiences. Whether you're looking to build a fun hobby project, start learning how to code, or eventually earn income through game development, Roblox Studio gives you everything you need in one powerful, free platform.
This comprehensive guide walks you step-by-step through the process of making your first Roblox game—from setting up Roblox Studio and building your game world, to scripting interactive features with Lua, testing for bugs, and finally publishing your game to the Roblox platform. No prior experience is required—just a willingness to learn and experiment.
1. What is Roblox and Roblox Studio
Roblox is a platform where users can create and play games made by others. It's not just a gaming site—it's a full-fledged game creation system. Games range from simple obstacle courses to complex simulators and RPGs.
Roblox Studio is the software you use to create these games. It allows developers to design 3D environments, insert objects, and write scripts using the Lua programming language. It’s free to use and comes with powerful tools including physics simulation, networking, and real-time collaboration.
Why it's worth learning:
Huge community (millions of players daily).
Monetization opportunities.
Great entry point for learning programming and game design.
2. Setting Up Roblox Studio
Step-by-Step:
Create a Roblox account
Visit roblox.com.
Click Sign Up and fill in your username, birthday, and password.
Verify your email for added security.
Download Roblox Studio
Go to the Create tab while logged in.
Click Start Creating. Roblox Studio will automatically start downloading.
Install by running the downloaded file.
Log into Roblox Studio
Open Roblox Studio.
Log in using your Roblox credentials.
You’ll be greeted with a selection of templates or a blank project.
3. Understanding the Roblox Studio Interface
Before building, you need to understand the layout of Roblox Studio. Here's a breakdown:
Explorer Panel: Shows all the objects in your current game, organized in a hierarchy (Workspace, Lighting, Players, etc.).
Properties Panel: Displays properties of selected objects, such as size, color, anchored state, material, etc.
Toolbox: Lets you insert models, audio, meshes, and scripts from the Roblox library or your own inventory.
3D Viewport: The main area where you build your game and position objects.
Output Window: Displays messages, errors, or results from Lua scripts (useful for debugging).
Ribbon Toolbar: Provides tools for manipulating objects, terrain, testing, and publishing.
Customizing the layout can help your workflow. You can move panels around to suit your preferences.
4. Creating Your First Roblox Game
Step-by-Step:
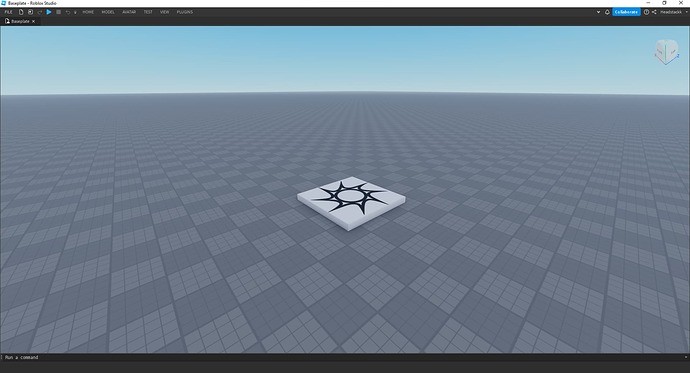
Choose a Template
Open Roblox Studio.
Select a template. If you're new, start with:
Baseplate (a blank world with a flat surface).
Obby Template (a simple obstacle course).
Village or City (more advanced but pre-built scenes).
Save Your Project
Go to File > Save to File As… to save locally.
Or Publish to Roblox As… to save to the cloud under your Roblox account.
Explore Game Settings
Click on Game Settings in the Home tab.
Set your game name, description, and genre.
Define permissions: make it private or public.
5. Building Your Game World
Building is about placing and modifying parts (objects) to create a game environment.
Basic Tools:
Part Tool: Insert basic 3D shapes like blocks, spheres, wedges, and cylinders.
Move/Scale/Rotate: Manipulate objects in space.
Anchor: Prevent objects from falling due to gravity.
Material & Color Tools: Change the look and feel of parts.
Grouping and Locking: Organize and protect your structures from accidental changes.
Terrain Editor:
Use the Terrain tab to sculpt natural environments like mountains, water, caves, and grass fields.
Lighting:
Adjust environmental lighting for mood and realism. You can edit ambient color, shadows, sun position, etc., in the Lighting service.
6. Scripting with Lua in Roblox
Lua is a lightweight and beginner-friendly language. Roblox uses a customized version for game development.
Creating a Script:
Right-click an object in the Explorer (e.g., a Part).
Select Insert Object > Script.
A new script will appear, attached to that part.
Common Lua Commands:
print("Hello")– Outputs text to the Output panel.Instance.new("Part")– Creates a new object.game.Workspace.PartName– Accesses an object in your game.
Example: Open a door when touched
7. Adding Interactivity and Game Mechanics
You can script almost anything in Roblox, including:
Leaderboards:
Track player stats like coins, kills, or time played.Tools and Weapons:
Insert items from the Toolbox and script their behavior.Teleporters:
UseCFrameto move a player from one location to another.User Interface (UI):
Create health bars, menus, and inventories using ScreenGuis and Frame elements.
8. Testing and Debugging
Testing is essential to ensure your game runs smoothly and without bugs.
Methods of Testing:
Play Solo: Test the game as one player.
Start Server/Players: Simulate multiplayer environments.
F5: Quick start to test gameplay.
Debugging Tips:
Use
print()to track variable values and script behavior.Check the Output window for errors.
Use Breakpoints and Step Through in the script editor to troubleshoot complex logic.
9. Publishing Your Game on Roblox
Step-by-Step:
Click File > Publish to Roblox As…
Choose an existing game or create a new one.
Enter game title, description, and settings.
After publishing, click Game Settings > Permissions to make your game public.
Thumbnail and Icons:
You can customize your game’s image and icon from the Game Settings menu. You can upload images or generate thumbnails directly from within Studio.
10. Monetizing Your Game
Once your game has users, you can earn Robux in several ways:
Game Passes:
One-time purchases for special access or powers.
Created via the Create page on Roblox.com.
Developer Products:
Repeat purchases (like in-game currency).
Set up with a unique ID and Lua scripting.
Premium Payouts:
If Premium users spend time in your game, Roblox pays you based on engagement.
Ads and Sponsorship:
Promote your game using Roblox’s ad network with Robux.
To withdraw Robux, you need to be a member of the Roblox Developer Exchange (DevEx), which has eligibility requirements (age, email verification, minimum balance, etc.).
11. Tips for Success and Learning Resources
Tips:
Start small: Build a simple game to learn the basics before making an RPG or simulator.
Use free assets wisely: Modify Toolbox models to match your style.
Collaborate: Use Team Create to build games with friends.
Update frequently: Keep your game fresh to retain players.
Learning Resources:
Roblox Creator Hub: Tutorials and documentation — create.roblox.com
DevForum: Roblox’s official developer forum — devforum.roblox.com
YouTube Tutorials: Channels like TheDevKing and AlvinBlox.
Lua Language: Learn the basics at www.lua.org
Making your own Roblox game can be one of the most enjoyable and educational experiences in digital creation. It combines game design, coding, 3D modeling, and storytelling—all within a supportive community and accessible toolkit. By starting with small projects and gradually learning more advanced techniques, you can grow your skills and create increasingly complex and engaging games.
Whether your goal is to learn programming, entertain players, collaborate with friends, or earn real income through game monetization, Roblox provides the infrastructure to support your journey. Continue exploring the Creator Hub, follow tutorials, and most importantly, keep building. With persistence and creativity, your next project could become the next big hit on Roblox.
Read: What Does AFK Mean in Roblox?
Read: What is Roblox GG? Everything You Need to Know
Read: How to Make a Shirt in Roblox: A Comprehensive Guide to Designing, Testing, and Uploading
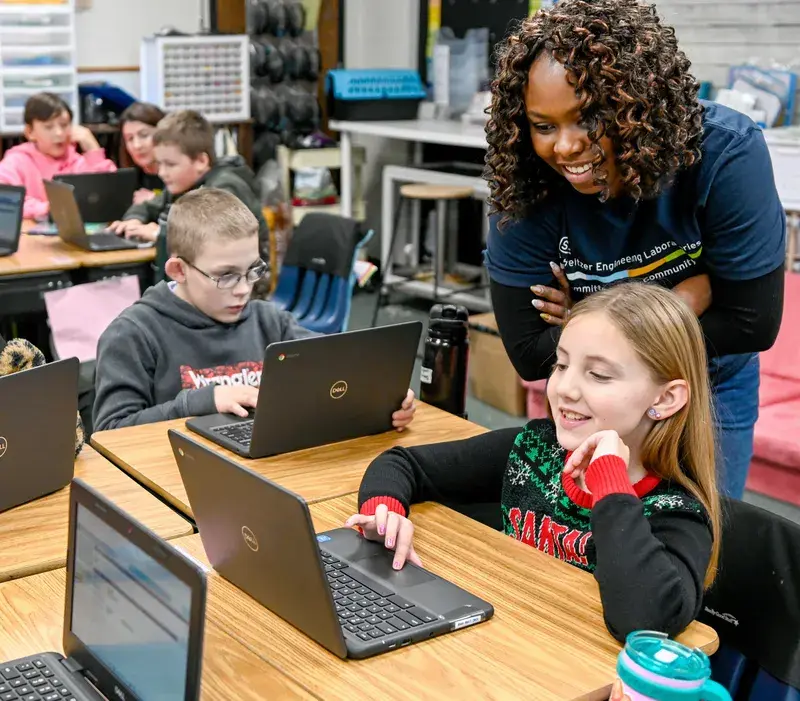
Pinecone Coding Academy's Kids Coding Program
At Pinecone Coding Academy, we are passionate about making coding accessible and enjoyable for kids aged 8-17. Our program is designed to inspire and equip young learners with the skills they need to thrive in the digital world.
Click here to discover a coding class that matches your teen's or child's interests.
What We Offer:
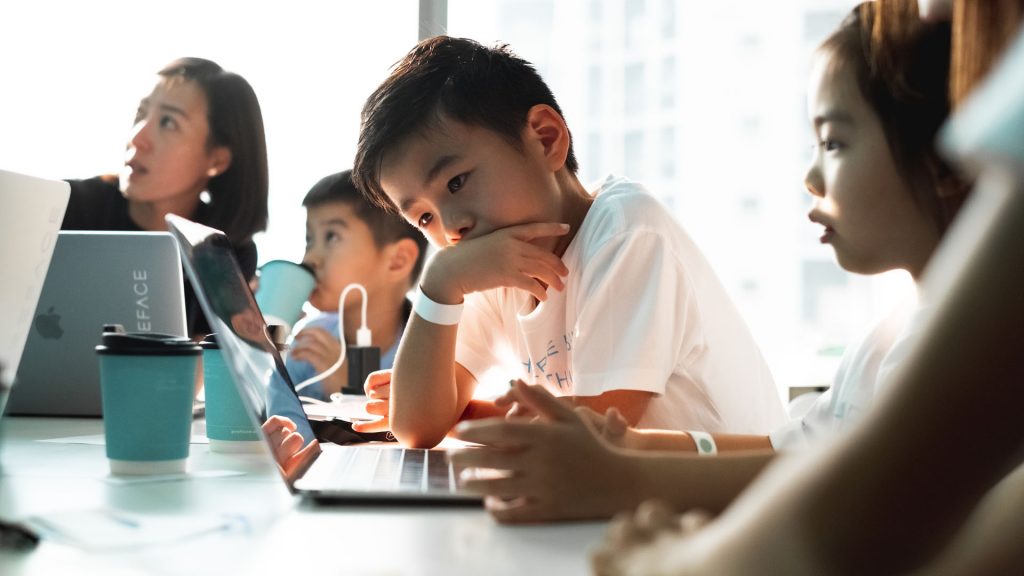
Engaging Curriculum: Our courses introduce students to popular programming languages like Python, JavaScript, and HTML/CSS, laying a strong foundation for future learning.
Hands-On Projects: Students participate in project-based learning, creating real applications that they can showcase, from interactive games to personal websites.
Mentorship and Support: Our experienced instructors provide guidance, helping students navigate challenges and discover their coding potential.
Community Connection: By joining Pinecone, students become part of a vibrant community of peers, fostering collaboration and friendship as they learn.
More blogs